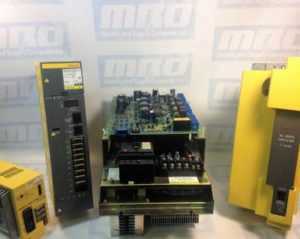
Instructions for Installing PCB to A06B-6052-H001/4 and more

The following is a list of instructions for installing the these Spindle Drives:

With the A16B-1100-0080 Spindle Drive PCB.

This guide covers the same installation procedure for the following parts:

spindle drive pcb

Instructions:

  1. Make sure the jumpers on the new spindle PCB match the jumpers on your old spindle PCB.
  2. Check to see the status of the 200/230 voltage switch on the old spindle PCB and set it to the same setting on the new spindle drive. You can locate the switch underneath the lid on smaller drives.
  3. Remove the software chip on the old spindle drive and install it into the new one.
  4. If you used a DAC chip in your old spindle, you can can remove it from your old spindle PCB and install it into your new one.

It is very important to follow the manual and make sure that the chips and cards you are moving around are installed correctly. For instance, if you were to incorrectly install the software chips, not only would the display not show anything, you are leaving open the possibilities for a short and causing yourself even more trouble.

Sometimes you may not have the necessary equipment to make a diagnosis on your motor, but we do. MRO Electric and Supply offers high quality repair services on all motors and spindle drives so you don’t have to worry about it. Please take a look at our website to see all available brands and parts we can service for you. Our rebuilds for these size drives usually only take 2-3 days, which includes rebuilding the part, painting the part, and fully testing the part to ensure top quality. By getting your part back to you as soon as possible, you are able to minimize downtime, and by doing the job right you can have peace of mind knowing that your FANUC drive will now work properly and not be the reason for downtime in the future.

MRO Electric and Supply has new and refurbished FANUC CNC parts available. For more information, please call 800-691-8511 or email sales@mroelectric.com.

Updated on March 5, 2020 by Brian Hughes
Proper Maintenance on your FANUC Spindle Motor can Extend its Life

Taking care of your FANUC spindle motor and maintaining it properly is the number one way to ensure it will continue to properly run when you need it. Taking the time to understand why it is important to properly maintain your drives and motors is important in itself. Old equipment is definitely more likely fail than newer equipment, but it is entirely possible for new equipment to fail due to improper lubrication, overheating, contamination of other machine fluids, etc.

Regular Maintenance Checklist

  1. Make sure that there is no other fluids leaking into the Fanuc spindle drive from external sources.
  2. Check the installation to ensure that everything is connected correctly.
  3. Check to make sure the spindle is lubricated correctly. Both too much and too little lubrication is a bad thing so make sure to follow your manual to learn how much you need to use.
  4. Minimizing the amount of vibration on the spindle drive will prevent the dislodging or unseating of any chips/cards/wiring.
  5. Using proper impact prevention on the bearings inside the spindle will ensure the least amount of physical stress on the machine itself.

fanuc cnc

By following these steps at least once a month, you are doing yourself a service by making sure your spindle drive is maintained properly. You are saving yourself from having to get parts repaired or buying new parts, and in turn saving money and preventing downtime.

Sometimes you may not have the necessary equipment to make a diagnosis on your motor, but we do. MRO Electric and Supply offers high quality repair services on all motors so you don’t have to worry about it. Please take a look at our website to see all available brands and parts we can service for you.

MRO Electric and Supply has new and refurbished FANUC CNC parts available. For more information, please call 800-691-8511 or email sales@mroelectric.com.

Updated on May 13, 2020 by David Link

Instructions for Installing PCB to A06B-6059-H001/4 and A06B-6060-H001/7 Spindle Drives

The following is a list of instructions for installing the these Spindle Drives with the A16B-1100-0200 Spindle Drive PCB:

And these Spindle Drives with the A16B-1100-0241 Spindle Drive PCB:

  • A06B-6060-H001
  • A06B-6060-H002
  • A06B-6060-H003
  • A06B-6060-H004
  • A06B-6060-H005
  • A06B-6060-H006
  • A06B-6060-H007

fanuc cnc

Instructions:

  1. Make sure the jumpers on the new spindle PCB match the jumpers on your old spindle PCB.
  2. Remove the software chips from the old spindle PCB and install them onto the new spindle PCB.
  3. If possible, remove the NVRAM chip from the old spindle PCB and install it onto the new spindle PCB. This way you will not have to reprogram the chip as the new spindle will have the same instructions as the previous one.

It is very important to follow the manual and make sure that the chips and cards you are moving around are installed correctly. For instance, if you were to incorrectly install the software chips, not only would the display not show anything, you are leaving open the possibilities for a short and causing yourself even more trouble.

Sometimes you may not have the necessary equipment to make a diagnosis on your motor, but we do. MRO Electric and Supply offers high quality repair services on all motors and spindle drives so you don’t have to worry about it. Please take a look at our website to see all available brands and parts we can service for you. Our rebuilds for these size drives usually only take 2-3 days, which includes rebuilding the part, painting the part, and fully testing the part to ensure top quality. By getting your part back to you as soon as possible, you are able to minimize downtime, and by doing the job right you can have peace of mind knowing that your FANUC drive will now work properly and not be the reason for downtime in the future.

MRO Electric and Supply has new and refurbished FANUC CNC parts available. For more information, please call 800-691-8511 or email sales@mroelectric.com.

Updated on March 5, 2020 by Brian Hughes
Setting the Sensor Gap on your Fanuc Spindle Motor

Today we will be helping you with your installation of a spindle motor. Alarms are caused by tensions issues with the belt – either being too tight or too loose in relation to the sensor. MRO Electric and Supply offers both new and refurbished FANUC Spindle amps, troubleshooting on our blog for a wide variety of parts, and repair services on any product we offer.

Steps for fixing the sensor gap

  1. Disconnect the wiring inside of the terminal box.
  2. Next take out the 4 bolts that hold the shroud/fan to the motor.
  3. Remove the screws from the cover of the sensor on the motor.
  4.  Loosen the screws holding the sensor in place until you have enough room to be able to slide a piece of paper between the gear and sensor.
  5. Tighten the 2 screws that hold the sensor in place to make sure they do not rub against each other at all.
  6. Fasten the sensor cover back to the sensor and tighten accordingly.
  7. Reattach the shroud and the fan to the motor.
  8. Configure the wiring back to what it was originally.

fanuc cnc

Now that the sensor for your FANUC Spindle amp is corrected, it should work properly. If you are still having issues we recommend looking throughout our blog as we have many articles based on helping the user troubleshoot any and all issues with their motor.

Sometimes you may not have the necessary equipment to make a diagnosis on your motor, but we do. MRO Electric and Supply offers high quality repair services on all motors so you don’t have to worry about it. Please take a look at our website to see all available brands and parts we can service for you.

MRO Electric and Supply has new and refurbished FANUC CNC parts available. For more information, please call 800-691-8511 or email sales@mroelectric.com.

Updated on March 5, 2020 by Brian Hughes
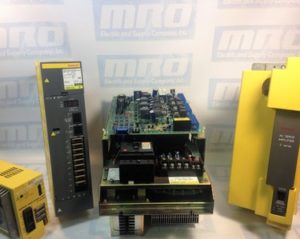
Diagnosing your FANUC Current Alarm

If you are getting a high current alarm on your FANUC motor, it is going to be caused by either the motor itself, the drive, or a cable. To begin the process of figuring out which alarm you are receiving you must disconnect the leads from the motor. Try powering it up and look to see if the alarm LED is lit. Fanuc alarms include the HC LED, alarm 8/9/A/B for Servo motors, and alarm 12 for Spindle motors.

  • If you no longer are seeing an alarm, the motor is most likely bad.
  • If you have powered the motor and are receiving the alarm, the issue is most likely with the drive.

Because you have disconnected the leads from the motor, you are able to use an ohm meter/megger to monitor the power levels of the cable and motor, and make sure they are working as intended. Using a megger will help you decide if your motor is grounded correctly where an ohm reader will let you know if your motor has shorted.

Using your ohm meter check for shorts both leg-to-leg and leg-to-ground on each of the legs. The leg-to-leg readings should be consistently low between every leg while the leg-to-ground readings will stay open. The megger is used to check between the leg and ground to see if the problem could be with the terminal box on the motor or any cables connected to it.

Sometimes you may not have the necessary equipment to make a diagnosis on your motor or to troubleshoot, but we do. MRO Electric and Supply offers high quality repair services on all motors so you don’t have to worry about it. Check out our website to see all available brands and parts we can service for you.

MRO Electric and Supply has new and refurbished FANUC CNC parts available. We also offer repair pricing. For more information, please call 800-691-8511 or email sales@mroelectric.com.

Updated on September 27, 2021 by Leanna Cota

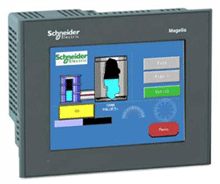
Repairing your Modicon Magelis HMI

Any amount of downtime is too much for most companies. Parts will break from time to time, and repairs will be necessary. Here at MRO Electric and Supply we are dedicated to providing the best service making sure that your downtime is minimal. Human Interface Terminals(HMIs) are a crucial part of any automation process nowadays, so it is important to make sure it is working correctly. Along with selling both new and remanufactured products, MRO Electric and Supply offers both repair and exchange services.

modicon hmi

Modicon was the first manufacturer to release programmable logic controllers onto the market, and since have been one of the top brands for PLC’s. MRO Electric and Supply have all the parts necessary to run the Magelis HMI at it full potential, including panels, cables, controllers, adapters and any software that may be needed. Along with repairs, we handle installations and programming of drives and controllers so that you don’t have to.

We also offer the option to retrofit your old machines with newer interfaces for the most up-to-date applications and processes. By fitting existing HMI’s with new interfaces you are able to add years to the life span of your automation set up. It is a lot easier to update and fix your existing displays and HMIs than taking the time and money to purchase and fit new parts.

All of our repairs come with a 12 month guarantee. Our repair service is based on doing the right job, and getting your part back to you as soon as possible. Every part we refurbish is tested to make sure they work the way they are supposed to. Our factory-trained technicians have many years working with Modicon products.

For a free Modicon Magelis HMI repair quote, please email sales@mroelectric.com or call 800-691-8511.  For more information on our Modicon repair capabilities, you can visit our Modicon Repair page.

Updated on March 5, 2020 by Brian Hughes
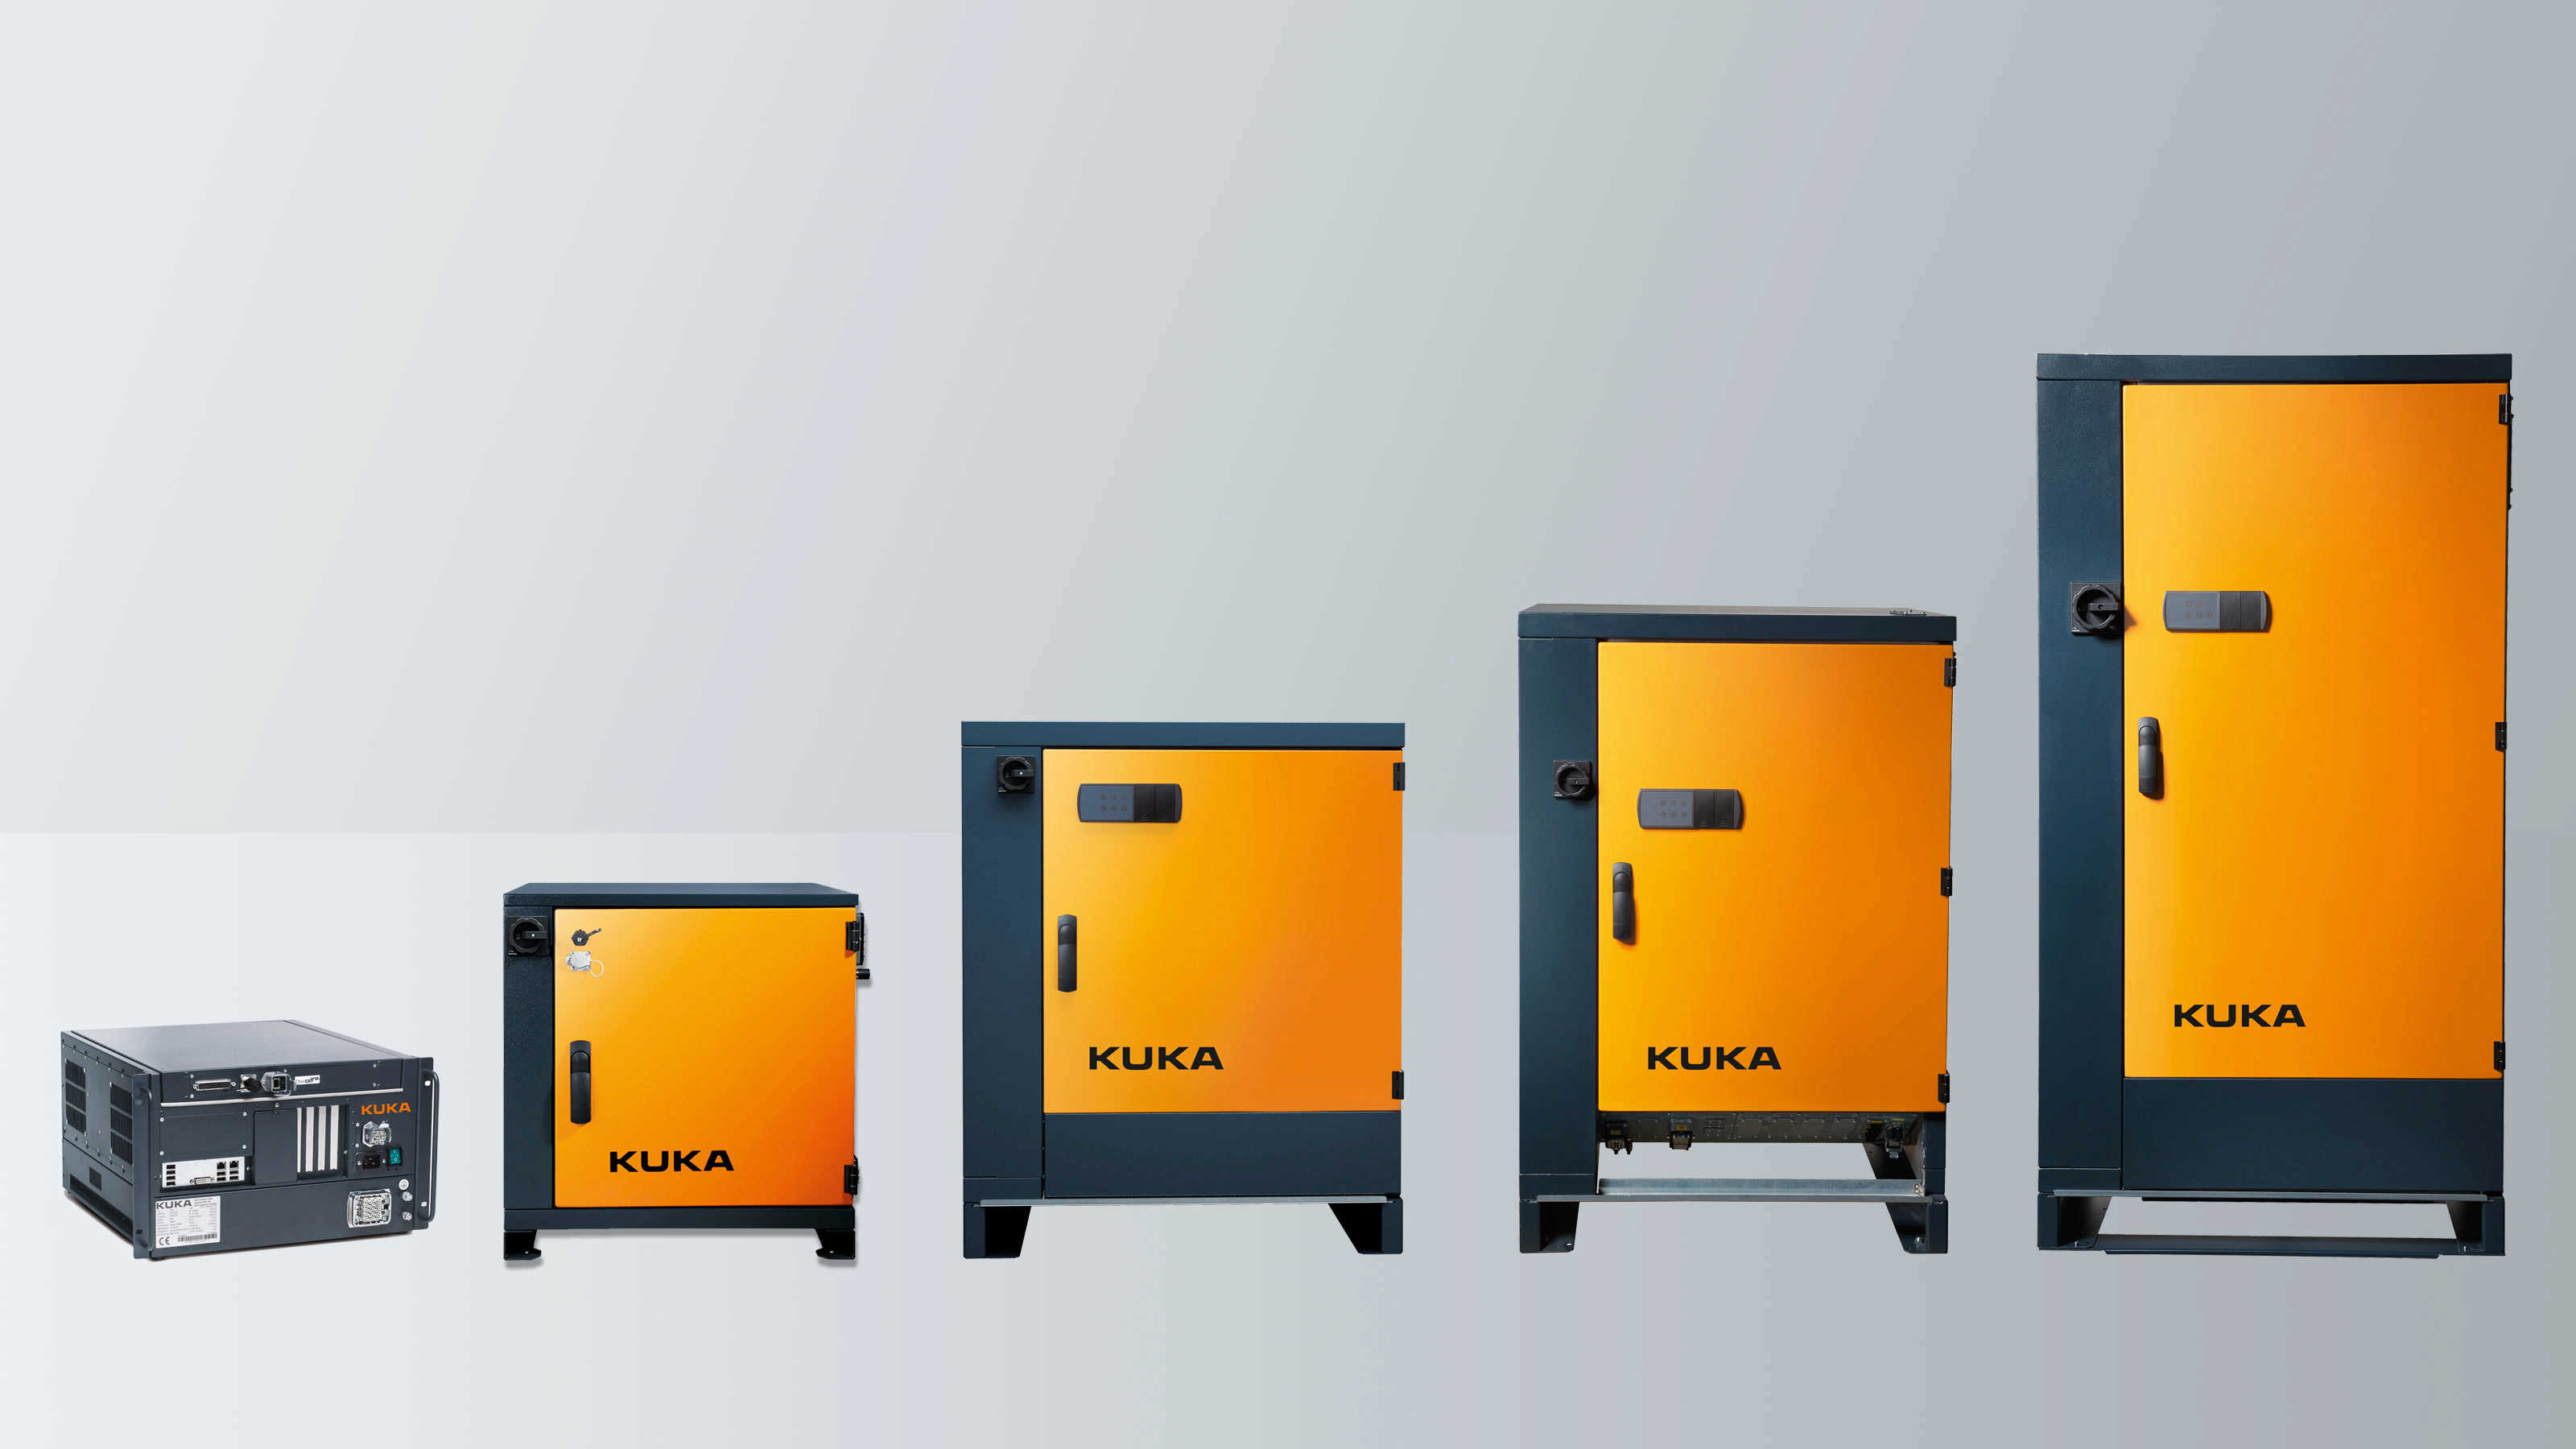
KUKA Controllers lineup

KUKA Error Codes

 KUKA robotics offers a broad range of robotics controllers and other robotics parts for a variety of industries including CNC machining, surface processing, loading usage, and much more. One common challenge with operating robotics controllers is understanding what the error codes mean, that they display when they encounter an issue. Listed below are common KUKA error messages that you may encounter while troubleshooting issues with KUKA controllers. These codes are applicable to all KUKA controllers, including the KRC1, KRC2, KRC3, and the KRC4.

Common KUKA KRC1, KRC2, KRC3, and KRC4 Error Codes

Error Code 14 – SOFTPLC: @P1@

Error Code 284 – Accu–voltage at <kps number> below <voltage level> during last buffering

  • Cause
    • The accu voltage was too low at the last switch off to buffer the
      shutdown.
    • The accu is not charged correctly anymore.
    • The accu is too old or broken.
  • Effect
    • Eventually loss of reference.
    • Cold boot.
    • Active commands inhibited
  • Remedy
    • Exchange accu.

Error Code 310 – Safety Circuit for drives not ready

  • Cause
    • Safety circuit is telling drives not to move.
    • Faulty X11
    • Faulty ESC board
    • Faulty KPS 600
  • Remedy
    • Check ESC monitor and other messages to narrow down the root cause with the safety circuit
    • Replace faulty components

Error Code 364 – Unknown operation mode

  • Possible Cause
    • Faulty KPS 600 Drive
  • Remedy
    • Replace KPS 600

Error Code 420 – Local protective stop (QE)

    • Possible Cause
      • Faulty KPS600 Drive
    • Remedy
      • Replace KPS600

Error Code 1033 – ERROR ON READING, DRIVER: ** **

Error Code 1034 – ERROR ON WRITING, DRIVER: ** **

Error Code 1133 – GEAR TORQUE EXCEEDED AXIS

  • Cause
    • The calculated gear torque is larger than the maximum permissible gear torque.
  • Monitor
    • Cyclic in interpolation cycle.
  • Effect
    • Motion and program are stopped.
  • Remedy
    • Reteach points.

Error Code 1239 – ACKN. SYNCHRONISATION ERROR DRIVE

Error Code 1376 – ACTIVE COMMANDS INHIBITED

  • Cause
    • A message which causes the active commands to be inhibited has been set.
  • Monitor
    • In command processing.
  • Effect
    • Command is not executed.
  • Remedy
    • Acknowledge active messages in the message window.

Error Code 2029 – SYNTAX ERROR IN KUKA MODULE

Error Code 2135 – NAME NOT DECLARED AS SUBROUTINE

Error Code 6502 – Error during reading INI file init/iosys.ini 1

  • Remedy
    • Check iosys.ini file
    • Ensure correct DeviceNET driver is installed
    • Check data cable between robot / cabinet

Error Code 10053

  • Remedy
    • Check fan to ensure it isn’t vibrating. This could be causing the Mfc card to move into the motherboard’s slot.

To find more info about KUKA error codes, view KUKA’s manual below.

View the KUKA Manual

MRO Electric carries replacement KUKA Robotics parts such as teach pendants, drives, motors, and more. To request a quote, please call 800-691-8511 or email sales@mroelectric.com.

Troubleshooting error codes on your KUKA controller?

We can help you resolve issues with your KUKA controllers. Whether you’re looking to repair your old controller or purchase a new one, we’re dedicated to keeping your automation systems running at their best!

Updated on February 14, 2024 by Joe Kaminski