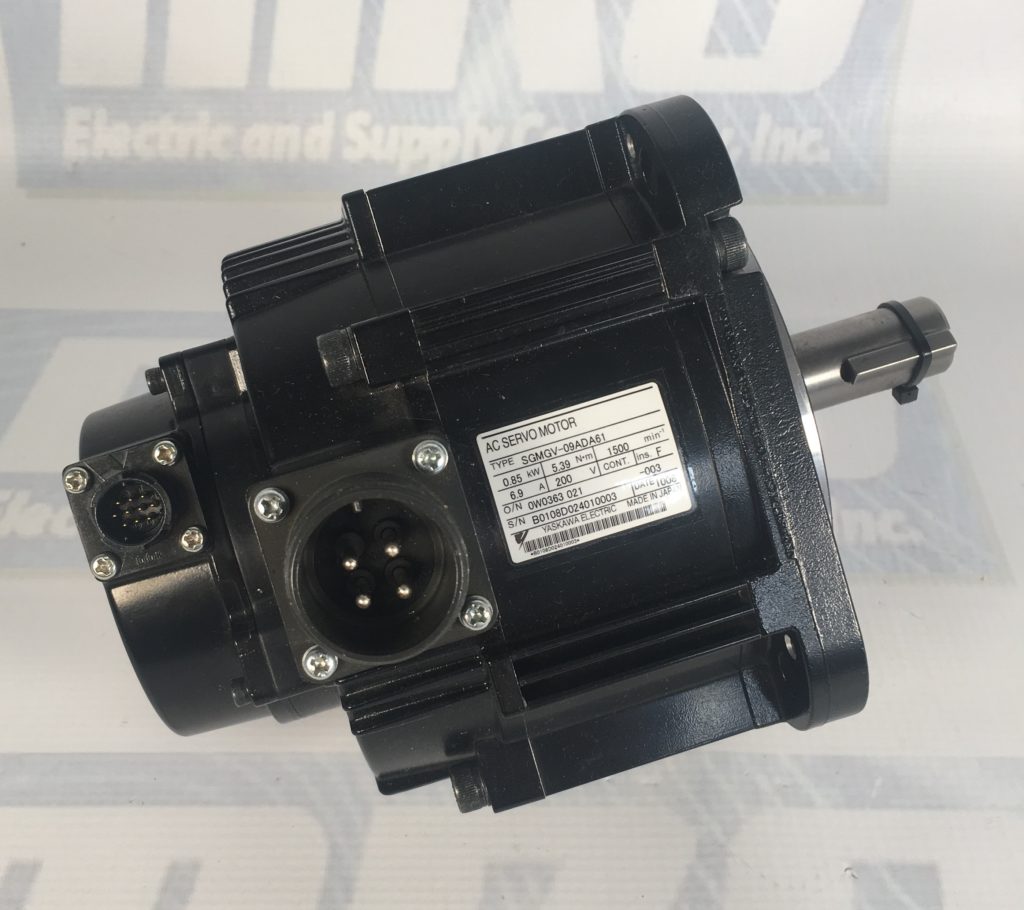
Below is a table of common fault codes found on Yaskawa P1000 units. If problems continue to occur, it may be worth replacing your unit. MRO Electric specializes in Yaskawa repair, as well as unit distribution, if you are interested in obtaining a new or refurbished P1000 unit.
| bAT | Digital Operator Battery Voltage Low - The digital operator battery is low Replace the digital operator battery. |
| boL | Braking Transistor Overload Fault - The wrong braking resistor is installed Select the correct braking resistor. |
| bUS | Option Communication Error - No signal was received from the PLC. Check for faulty wiring. CE MEMOBUS/Modbus Communication Error - Faulty communications wiring or an existing short circuit. |
| CE | MEMOBUS/Modbus Communication Error - Faulty communications wiring or an existing short circuit. |
| CPF02 | A/D Conversion Error - Control circuit is damaged. Replace the control board or the entire drive. |
| CPF03 | Control Board Connection Error - Turn off the power and check the connection between the control board and the drive. |
| CPF06 | EEPROM Memory Data Error - Turn off the power and check the connection between the control board and the drive. |
| CPF07 | Terminal Board Connection Error - Faulty connection between the terminal board and the control board. Turn off the power and reconnect the terminal board. |
| CPF08 | Terminal Board Connection Error - Faulty connection between the terminal board and the control board. Turn off the power and reconnect the terminal board. |
| CPF11 | Control Circuit Error - Hardware is damaged. Cycle Power. Replace hardware. |
| CPF12 | Control Circuit Error - Hardware is damaged. Cycle Power. Replace hardware. |
| CPF13 | Control Circuit Error - Hardware is damaged. Cycle Power. Replace hardware. |
| CPF14 | Control Circuit Error - Hardware is damaged. Cycle Power. Replace hardware. |
| CPF15 | Control Circuit Error - Hardware is damaged. Cycle Power. Replace hardware. |
| CPF16 | Control Circuit Error - Hardware is damaged. Cycle Power. Replace hardware. |
| CPF17 | Control Circuit Error - Hardware is damaged. Cycle Power. Replace hardware.Control Circuit Error - Hardware is damaged. Cycle Power. Replace hardware. |
| CPF18 | Control Circuit Error - Hardware is damaged. Cycle Power. Replace hardware. |
| CPF19 | Control Circuit Error - Hardware is damaged. Cycle Power. Replace hardware. |
| CPF20 | Control Circuit Error - Hardware is damaged. Cycle Power. Replace hardware. |
| CPF21 | Control Circuit Error - Hardware is damaged. Cycle Power. Replace hardware. |
| CPF22 | Hybrid IC Error - Hardware is damaged. Cycle Power. Replace hardware. |
| CPF23 | Control Board Connection Error - Hardware is damaged. Cycle Power. Replace hardware. |
| CPF24 | Drive Unit Signal Fault - The drive capacity cannot be detected correctly. Cycle Power. Replace hardware. |
| CPF25 | Terminal Board Not Connected - Hardware is damaged. Cycle Power. Replace hardware. |
| CPF26 | Control Circuit Error - Hardware is damaged. Cycle Power. Replace hardware. |
| CPF27 | Control Circuit Error - Hardware is damaged. Cycle Power. Replace hardware. |
| CPF28 | Control Circuit Error - Hardware is damaged. Cycle Power. Replace hardware. |
| CPF29 | Control Circuit Error - Hardware is damaged. Cycle Power. Replace hardware. |
| CPF30 | Control Circuit Error - Hardware is damaged. Cycle Power. Replace hardware. |
| CPF31 | Control Circuit Error - Hardware is damaged. Cycle Power. Replace hardware. |
| CPF32 | Control Circuit Error - Hardware is damaged. Cycle Power. Replace hardware. |
| CPF33 | Control Circuit Error - Hardware is damaged. Cycle Power. Replace hardware. |
| CPF34 | Control Circuit Error - Hardware is damaged. Cycle Power. Replace hardware. |
| CPF35 | Control Circuit Error - Hardware is damaged. Cycle Power. Replace hardware. |
| CPF40 | Control Circuit Error - Hardware is damaged. Cycle Power. Replace hardware. |
| CPF41 | Control Circuit Error - Hardware is damaged. Cycle Power. Replace hardware. |
| CPF42 | Control Circuit Error - Hardware is damaged. Cycle Power. Replace hardware. |
| CPF43 | Control Circuit Error - Hardware is damaged. Cycle Power. Replace hardware. |
| E5 | SI-T3 Watchdog Timer Error - Data has not been received from the PLC Execute DISCONNECT or ALM_CLR, then issue a CONNECT command or SYNC_SET command. |
| EF0 | Option Card External Fault - An external fault condition is present. Check external causes. |
| EF1 | External Fault Terminal S1 - An external fault condition is present. Check external causes. Bad S1 Terminal. |
| EF2 | External Fault Terminal S1 - An external fault condition is present. Check external causes. Bad S1 Terminal. |
| EF3 | External Fault Terminal S1 - An external fault condition is present. Check external causes. Bad S1 Terminal. |
| EF4 | External Fault Terminal S1 - An external fault condition is present. Check external causes. Bad S1 Terminal. |
| EF5 | External Fault Terminal S1 - An external fault condition is present. Check external causes. Bad S1 Terminal. |
| EF6 | External Fault Terminal S1 - An external fault condition is present. Check external causes. Bad S1 Terminal. |
| EF7 | External Fault Terminal S1 - An external fault condition is present. Check external causes. Bad S1 Terminal. |
| EF8 | External Fault Terminal S1 - An external fault condition is present. Check external causes. Bad S1 Terminal. |
| Err | EEPROM Write Error - Noise has corrupted data. Cycle power. Correct the parameter. |
| FAn | Internal Fan Fault - Internal cooling fan has malfunctioned. Check for fan operation. |
| FbH | Excessive PID Feedback - PID feedback input is greater than the level set to. Check parameter. |
| FbL | PID Feedback Loss - Check parameter. There is a problem with the feedback sensor. |
| GF | Ground Fault - A current short to ground exceeded 50% of rated current on the output side of the drive. Check motor/cables. |
| LF | Output Phase Loss - Phase loss on the output side of the drive. Check motor/cables. |
| LF3 | Power Unit Output Phase Loss 3 - Phase loss on the output side of the drive. Check motor/cables. |
| nSE | Node Setup Error - A terminal assigned to the node setup function closed during run. |
| oC | Overcurrent - Output current greater than the specified overcurrent level. Check parameter. Check motor. |
| oFA01 | Option Card Fault - The option card connection is faulty. Check connection. Replace hardware. |
| oFA03 | Option Card Fault - The option card connection is faulty. Check connection. Replace hardware. |
| oFA04 | Option Card Fault - The option card connection is faulty. Check connection. Replace hardware. |
| oFA05 | Option Card Fault - The option card connection is faulty. Check connection. Replace hardware. |
| oFA06 | Option Card Fault - The option card connection is faulty. Check connection. Replace hardware. |
| oFA10 | Option Card Fault - The option card connection is faulty. Check connection. Replace hardware. |
| oFA11 | Option Card Fault - The option card connection is faulty. Check connection. Replace hardware. |
| oFA12 | Option Card Connection Error - The option card connection is faulty. Check connection. Replace hardware. |
| oFA13 | Option Card Connection Error - The option card connection is faulty. Check connection. Replace hardware. |
| oFA14 | Option Card Connection Error - The option card connection is faulty. Check connection. Replace hardware. |
| oFA15 | Option Card Connection Error - The option card connection is faulty. Check connection. Replace hardware. |
| oFA16 | Option Card Connection Error - The option card connection is faulty. Check connection. Replace hardware. |
| oFA17 | Option Card Connection Error - The option card connection is faulty. Check connection. Replace hardware. |
| oFA30 | Option Card Connection Error - The option card connection is faulty. Check connection. Replace hardware. |
| oFA31 | Option Card Connection Error - The option card connection is faulty. Check connection. Replace hardware. |
| oFA32 | Option Card Connection Error - The option card connection is faulty. Check connection. Replace hardware. |
| oFA33 | Option Card Connection Error - The option card connection is faulty. Check connection. Replace hardware. |
| oFA34 | Option Card Connection Error - The option card connection is faulty. Check connection. Replace hardware. |
| oFA35 | Option Card Connection Error - The option card connection is faulty. Check connection. Replace hardware. |
| oFA36 | Option Card Connection Error - The option card connection is faulty. Check connection. Replace hardware. |
| oFA37 | Option Card Connection Error - The option card connection is faulty. Check connection. Replace hardware. |
| oFA38 | Option Card Connection Error - The option card connection is faulty. Check connection. Replace hardware. |
| oFA39 | Option Card Connection Error - The option card connection is faulty. Check connection. Replace hardware. |
| oFA40 | Option Card Connection Error - The option card connection is faulty. Check connection. Replace hardware. |
| oFA41 | Option Card Connection Error - The option card connection is faulty. Check connection. Replace hardware. |
| oFA42 | Option Card Connection Error - The option card connection is faulty. Check connection. Replace hardware. |
| oFA43 | Option Card Connection Error - The option card connection is faulty. Check connection. Replace hardware. |
| oFb00 | Option Card Connection Error - The option card connection is faulty. Check connection. Replace hardware. |
| oFb01 | Option Card Error - The option card connection is faulty. Check connection. Replace hardware. |
| oFb02 | Option Card Error - The option card connection is faulty. Check connection. Replace hardware. |
| oFb03 | Option Card Error - The option card connection is faulty. Check connection. Replace hardware. |
| oFb11 | Option Card Error - The option card connection is faulty. Check connection. Replace hardware. |
| oFb12 | Option Card Connection Error - The option card connection is faulty. Check connection. Replace hardware. |
| oFb13 | Option Card Connection Error - The option card connection is faulty. Check connection. Replace hardware. |
| oFb14 | Option Card Connection Error - The option card connection is faulty. Check connection. Replace hardware. |
| oFb15 | Option Card Connection Error - The option card connection is faulty. Check connection. Replace hardware. |
| oFb16 | Option Card Connection Error - The option card connection is faulty. Check connection. Replace hardware. |
| oFb17 | Option Card Connection Error - The option card connection is faulty. Check connection. Replace hardware. |
| oFC00 | Option Card Connection Error - The option card connection is faulty. Check connection. Replace hardware. |
| oFC01 | Option Card Error - The option card connection is faulty. Check connection. Replace hardware. |
| oFC02 | Option Card Error - The option card connection is faulty. Check connection. Replace hardware. |
| oFC03 | Option Card Error - The option card connection is faulty. Check connection. Replace hardware. |
| oFC11 | Option Card Error - The option card connection is faulty. Check connection. Replace hardware. |
| oFC12 | Option Card Connection Error - The option card connection is faulty. Check connection. Replace hardware. |
| oFC13 | Option Card Connection Error - The option card connection is faulty. Check connection. Replace hardware. |
| oFC14 | Option Card Connection Error - The option card connection is faulty. Check connection. Replace hardware. |
| oFC15 | Option Card Connection Error - The option card connection is faulty. Check connection. Replace hardware. |
| oFC16 | Option Card Connection Error - The option card connection is faulty. Check connection. Replace hardware. |
| oFC17 | Option Card Connection Error - The option card connection is faulty. Check connection. Replace hardware. |
| oFC50 | Option Card Error - The option card connection is faulty. Check connection. Replace hardware. |
| oFC51 | Option Card Error - The option card connection is faulty. Check connection. Replace hardware. |
| oFC52 | Option Card Error - The option card connection is faulty. Check connection. Replace hardware. |
| oFC53 | Option Card Error - The option card connection is faulty. Check connection. Replace hardware. |
| oFC54 | Option Card Error - The option card connection is faulty. Check connection. Replace hardware. |
| oFC55 | Option Card Error - The option card connection is faulty. Check connection. Replace hardware. |
| oH | Heatsink Overheat - Check ambient temperature. Check parameter setting. |
| oH1 | Heatsink Overheat - Check ambient temperature. Check parameter setting. |
| oH4 | Motor Overheat Fault (PTC input) - Check ambient temperature. Check parameter setting. |
| oH5 | Motor Overheat Fault (NTC input) - Check ambient temperature. Check parameter setting. |
| oL1 | Motor Overload - Load heavy. Increase accel or decel time. |
| oL2 | Drive Overload - Load heavy. Increase accel or decel time. |
| oL3 | Overtorque Detection 1 - current has exceeded the value set for torque detection. Check parameter setting. |
| oL4 | Overtorque Detection 2 - current has exceeded the value set for torque detection. Check parameter setting. |
| oL7 | High Slip Braking oL - Use braking resistor. Reduce decel time. |
| oPr | Operator Connection Fault - The external operator has been disconnected from the drive. |
| ov | Overvoltage - Deceleration time is too short and regenerative energy is flowing from the motor into the drive. Increase decel time. |
| PF | Input Phase Loss - Drive input power has an open phase or has a large imbalance. |
| rF | Braking Resistor Fault - The resistance of the braking resistor is too low. |
| rH | Dynamic Braking Resistor - Deceleration time is too short and excessive regenerative energy is flowing back into the drive. |
| rr | Dynamic Braking Transistor - The braking transistor is damaged. Cycle power to the drive and check for reoccurrence of the fault. |
| SC | IGBT Short Circuit or Ground Fault - IGBT failure. Cycle power to the drive and check for reoccurrence of the fault. |
| SEr | Too Many Speed Search Restarts - Parameters related to Speed Search are set to the wrong values. |
| TdE | Time Data Error - An error has occurred in the real-time clock. Replace digital operator. |
| THo | Thermistor Disconnect - The thermistor that detects motor temperature has become disconnected. |
| TIE | Time Interval Error - An error has occurred in the real-time clock. Replace digital operator. |
| TIM | Time Not Set - Set time in parameter o4-17. |
| UL3 | Undertorque Detection 1 - Current is below the minimum set value. Check parameter setting. |
| UL4 | Undertorque Detection 2 - Current is below the minimum set value. Check parameter setting. |
| UL6 | Motor Underload - Current is below the minimum set value. Check parameter setting. |
| UnbC | Current Unbalance - Current flow has become unbalanced. Check for damaged transistors. |
| Uv1 | Undervoltage - DC Bus Undervoltage. Check parameter setting. Input phase loss. |
| Uv2 | Control Power Supply Undervoltage - Voltage is too low for the control drive input power. Ride-through power loss. |
| Uv3 | Soft Charge Circuit Fault - Precharge relay or resistor fault. Bad precharge. |
| Uv4 | Gate Drive Board Undervoltage - Voltage drop in the gate drive board circuit. Cycle power to see if fault reoccurs. |
| voF | Output Voltage Detection Fault - Problem detected with the voltage on the output side of the drive. |
| vToL | VT Overload - The output current of the drive has been elevated for a set length of time. |
Encounter a fault code on your Yaskawa P1000 drive?
MRO Electric is here to guide you through the process of identifying and rectifying any issues, with an extensive selection of Yaskawa products and top-tier repair services to choose from.