UNI2403 Configuration and Setup

The UNI2403 and UNI2403-r configuration process is a relatively simple setup process that should be able to get you back up and running with minimal downtime.

With some simple UNI2403 11kw configuration the drive can be used as an AC Regenerative Unit, also known as a Regen Drive. In the case of a drive operating in Regen mode, the IGBT bridge is used as a sinusoidal rectifier, which converts the AC supply to a controlled DC voltage. This DC voltage can then be used to supply one or more Unidrives which control motors, commonly known as motoring drives.

A regen drive produces PWM output voltage which has a sinusoidal fundamental at an amplitude and phase which are almost the same as those of the AC supply voltage. The difference between the drive PWM line voltage and the supply voltage occurs across the Regen drive’s inductors.

There are a number of possible options available when designing a Unidrive Regen system depending on the user requirements and the nature of the AC supply. Non standard systems can be created where favourable supply conditions exist, allowing cost and space savings to be achieved by reducing the number of components.

A Unidrive can be used as a sinusoidal input current power unit to supply one or more Unidrives via their DC buses. When this mode is selected as the drive type, menu 15 appears. This menu is used to set up the Unidrive. At the same time, menu 0 defaults to showing Pr 15.01 to Pr 15.13 as Pr0.11 to Pr 0.28.

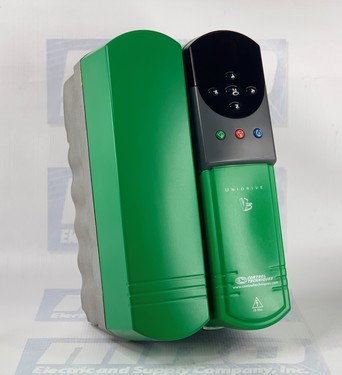
You can check out our previous blog post on the UNI2403 manual and UNI2403-r manual here with additional setup info. To get a UNI2403 price quote or for ordering info you can call 1-800-691-8511 or email sales@mroelectric.com.

UNI1405 Manual Installation and Pricing

The Control Techniques UNI1405 Unidrive is a 5hp, 9.5A AC drive with a peak output of 9.6kHz. All of the Unidrives have a built-in encoder port which is ready to accept motor rotational feedback after installation. There are three option modules available to compliment or extend the range of motor speed / position feedback capabilities.  For additional info about the UNI1405 manual programming of the option modules you can check out our post about the UD73 option module here.

Each of these option modules creates a simulated encoder output as either line driven quadrature channels or as frequency / direction signals to facilitate follower applications.

Read More

Configuring a Siemens PCU

When installing a replacement Siemens PCU, there are some steps that you need to follow to get it configured which we have detailed below.

Configuring the System

System Settings

–          How to change the name of the PCU

  • Default
    • The PCU is supplied with an automatically generated computer name
  • Procedure
    • To change the name of the PCU:
      • 1. Select Start >Control Panel >System
      • 2. Select the Computer Name tab and click on Change so the following dialog box opens Read More

Assigning a 140 NOE Module Ethernet Address Parameter

140NOE77101
140NOE77101

If you have just received the Schneider 140 NOE 771 xx module but have not yet programmed it with an Ethernet configurable extension, you will need to assign an IP address to your module. In this guide you’ll receive information about assigning a 140 NOE Module Ethernet Address Parameter.
Using the BOOTP Lite software utility you can assign IP address parameters. One thing to note, however, is that with the modules 140 NOE 771 01, -11, and NWM 100 00 you can assign the IP address using web pages.

Read More

Fanuc A06B-6050-H103 Servo Jumper Settings

When replacing a Fanuc A06B-6050-H103 Servo unit you should check to make sure the replacement servo has the same top board, part number A20B-1000-0560. After this part number there will be a “/” and then something similar to “05A” which denotes the revision of the board. Ideally you would match your original unit with a replacement unit that has the same board, but if that’s not possible then all you would need to do is reconfigure the jumpers on the board. The table below shows how to get this set up so you can get your servo back up and running right away. Search for more FANUC motors/drives on our website.

MRO Electric and Supply maintains a comprehensive stock of new and used FANUC CNC and FANUC Robots parts. If you need a FANUC replacement part, please call 800-691-8511 or email sales@mroelectric.com.